Alright, soldiers! Let's dive into one of the coolest, yet slightly tricky, challenges in the 2026 campaign of Call of Duty: Modern Warfare 3. We're talking about the 'Helo Hat Trick' achievement/trophy, unlocked during the 'Reactor' Open Combat Mission. The goal is simple on paper: as Captain Price, you need to infiltrate the enemy compound and destroy three marked Konni helicopters. But here's the kicker – you gotta take each one down using a different piece of heavy firepower, known as armaments (think of them as your campaign killstreaks). Mess this up, and no shiny digital badge for you!
First things first, let's break down the tools you'll need. Scattered across the map are four powerful armaments strong enough to wreck those choppers:
-
VTOL Jet 🚀
-
Mortar Strike 💥
-
Precision Airstrike ✈️
-
Stealth Bomber 👻
Here’s the pro tip: while each one can destroy a helicopter, their damage is area-based. That means if your aim is off, you might need a second hit. But don't panic! With the guide below, you'll nail it in one shot per bird. The key is using four different ones on three targets, giving you one backup in case of a miss.
Phase 1: Gear Up & First Strike
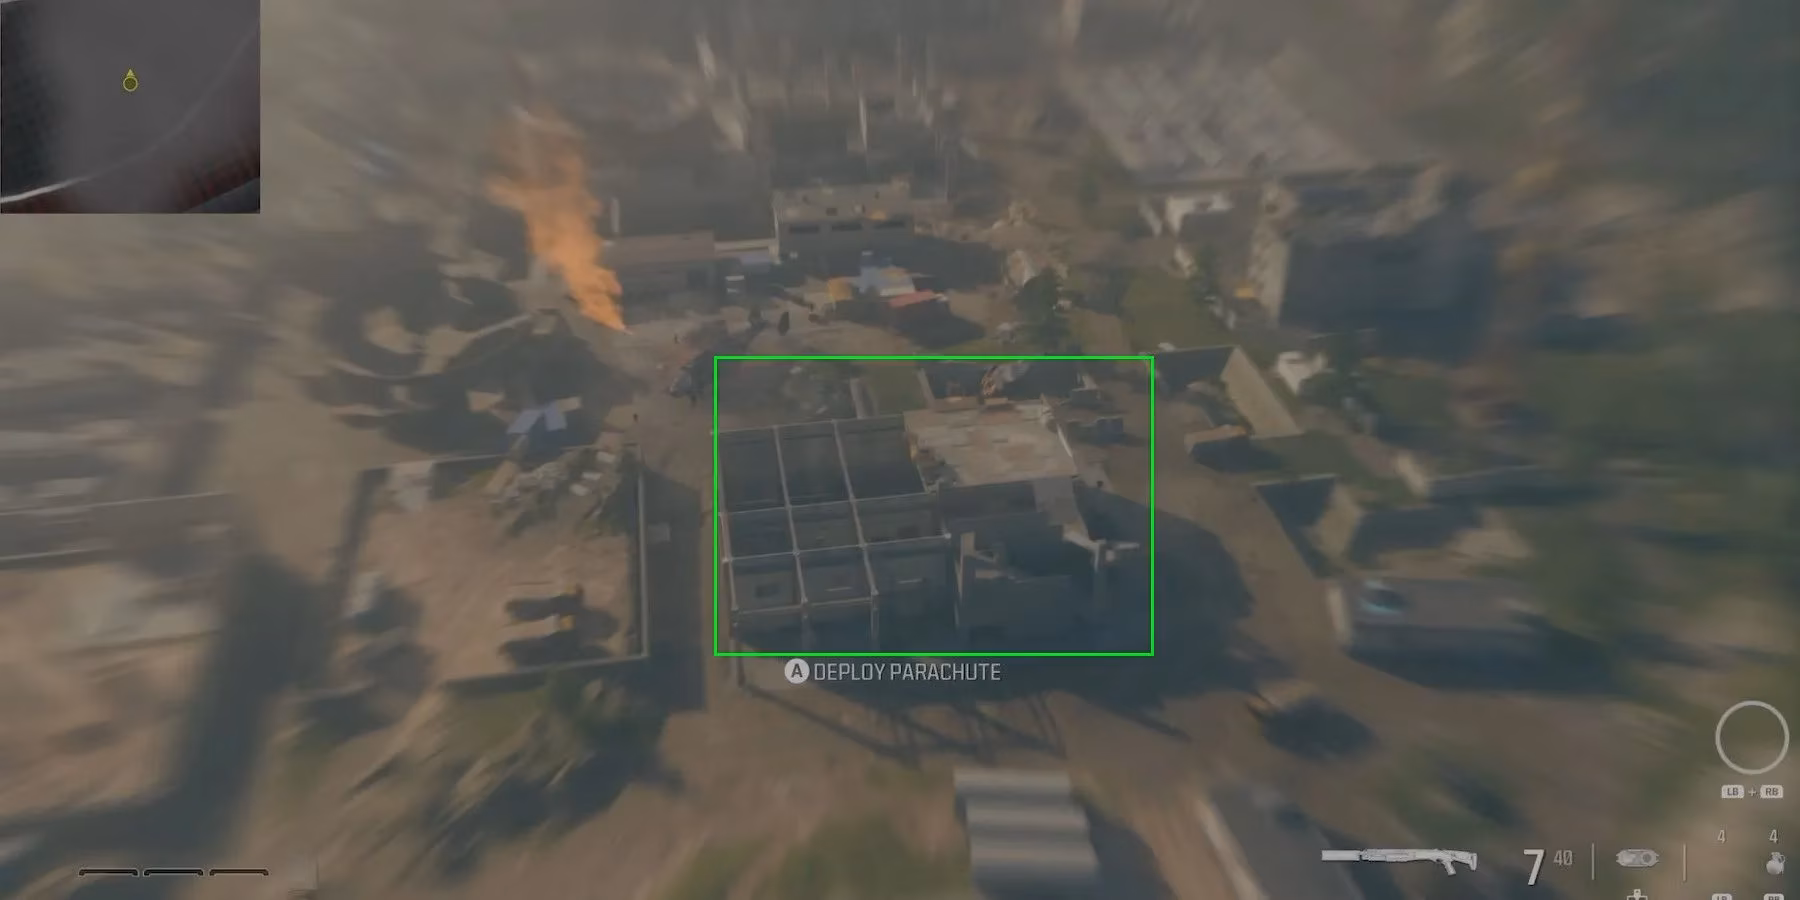
Your mission starts with a parachute drop. Head for that concrete building with the wooden roof in the center-right of the compound. Touchdown! Immediately, hustle to the top floor's northwest corner. Your first prize awaits: a Mortar Strike. Grab it, but don't use it yet! This is part of the plan.
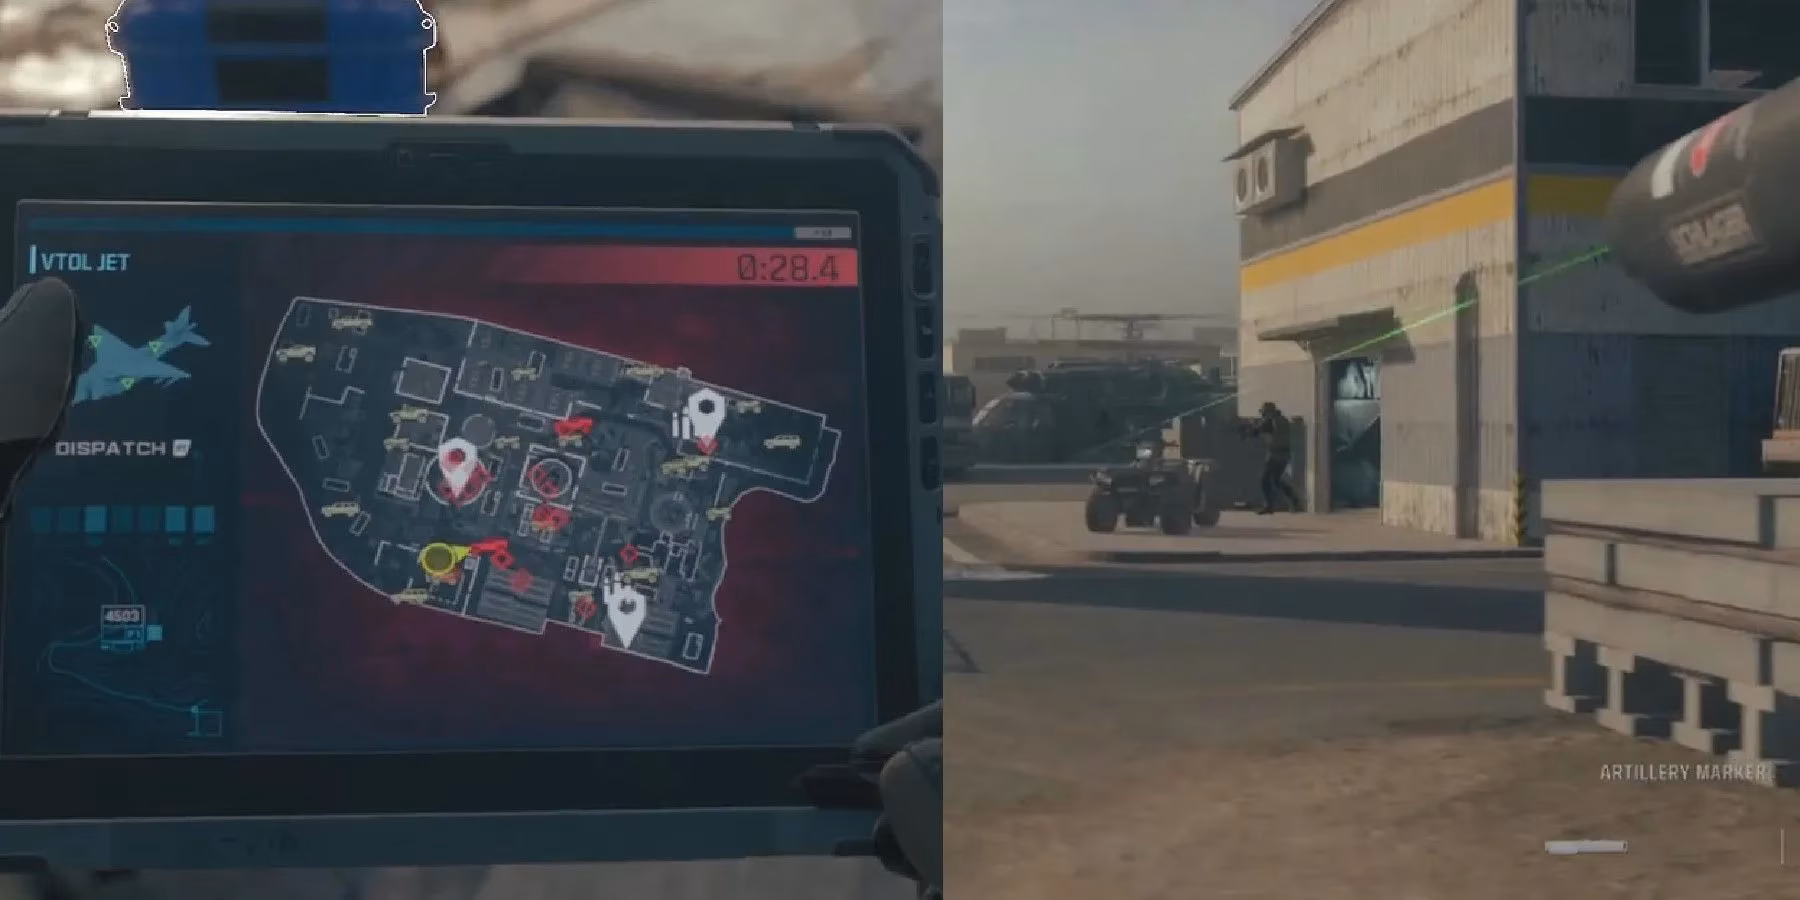
Now, head south toward the tower in grid sector C-6. Just east of it, you'll spot a fire station. There's a supply crate in the garage (loot it if you want), but your real target is on the roof. Climb up! On the second level of the rooftop, you'll find the VTOL Jet. This is your first destroyer. Swap your Mortar Strike for the VTOL.
Time for action! Call in that VTOL on the first Konni helicopter (marked by orange smoke). The VTOL isn't just effective; it also creates a fantastic diversion with its strafing runs. Use the chaos to your advantage and sprint along the south edge of the map towards your next target in sector G-7. One down, two to go!
Phase 2: The Middle Bird & Strategic Movement
As you approach the second helicopter, shift your focus northward. You're aiming for the reactor building in G-5, but first, a pit stop. In sector F-5, look for a building with a supply drop hanging from its roof. On the ground nearby, you'll find a Precision Airstrike waiting to be picked up. But wait! Don't grab it immediately.
Remember that Mortar Strike you passed up earlier? Now's its time to shine. Target the helicopter in G-7 with your Mortar Strike. Be careful of the sentry gun mounted on the LTV in sector G-6—it can ruin your day quickly. Once the second helo is a burning wreck, now you pick up the Precision Airstrike. This is your weapon for the final target.
Phase 3: The Grand Finale & Backup Plan
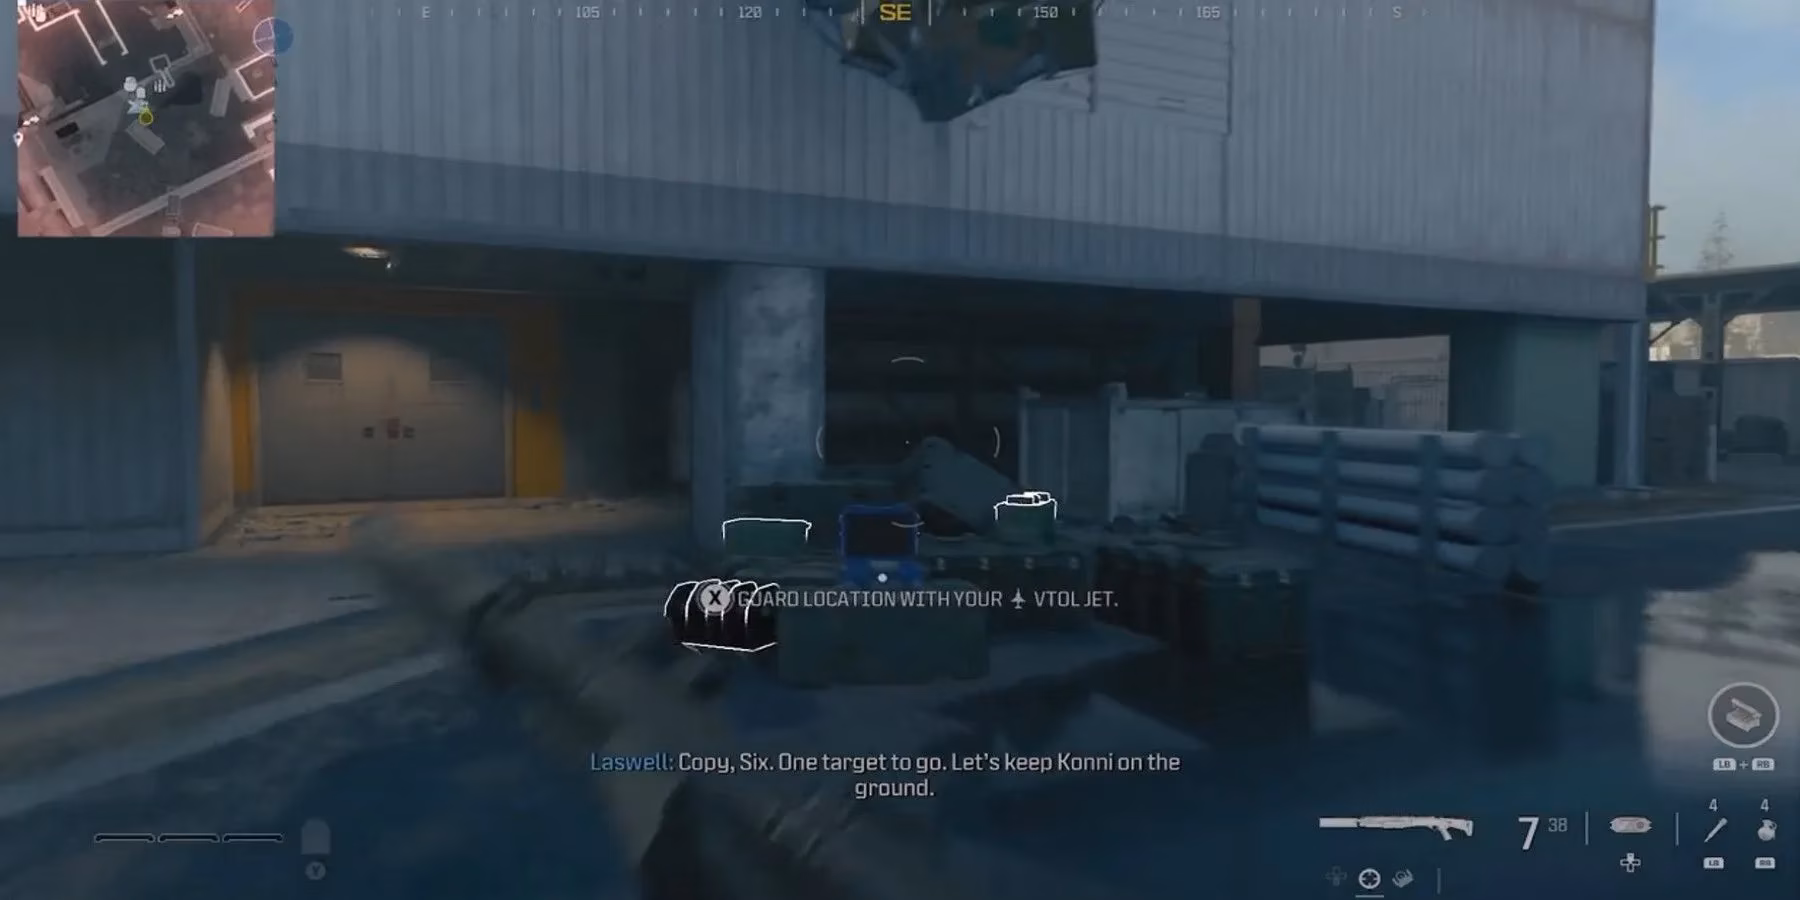
With the Precision Airstrike in hand, move north toward the last helicopter. For a quick and safe approach, use the ascension line on the west side of the building just south of the final chopper. It zips you right to the roof. You'll have to deal with one lone enemy guard up there—handle him quietly.
Position yourself, line up that Precision Airstrike perfectly on the last Konni bird, and let it rip. If you've followed the steps—VTOL, Mortar, then Airstrike—you should hear that glorious ping immediately, unlocking the Helo Hat Trick achievement (Steam/Xbox) or trophy (PlayStation)! 🏆
But what if one helicopter survived its initial hit? No worries, the game has a backup. On this very rooftop, turn around from the helicopter's position. Look for a supply crate near the pathway leading to the reactor. Inside, you'll find the Stealth Bomber, your insurance policy. You can also climb to the top of the reactor building for a killer vantage point to call it in on any remaining targets.
Mission Checklist & Summary
To make it super clear, here’s your action plan:
| Step | Location (Grid) | Armament to Use/Get | Target Helo | Notes |
|---|---|---|---|---|
| 1 | Start Building (NW Corner) | Pick Up Mortar Strike | - | Don't use it yet! |
| 2 | Fire Station Roof (C-6 East) | Swap for VTOL Jet | First Helo | Creates a great distraction. |
| 3 | F-5 (Near Hanging Drop) | Use Mortar Strike | Second Helo | Watch for LTV sentry gun in G-6. |
| 4 | Same Location (F-5) | Pick Up Precision Airstrike | - | Your tool for the finale. |
| 5 | Building South of Final Helo | Use Precision Airstrike | Third Helo | Use west-side ascension line. |
| (Backup) | Rooftop Supply Crate | Stealth Bomber | Any Survivor | Your "oh no" contingency plan. |
Once all three birds are down, the achievement is yours, and you can seamlessly continue storming the reactor. This method is efficient, minimizes exposure, and ensures you get that satisfying unlock. Good luck, and happy hunting! Remember, in Modern Warfare 3, it's not just about completing the mission—it's about doing it with style. 😎